This blog entry demonstrates how to interface an HD44780 character LCD to a Raspberry Pi Zero 2W, using Linux kernel drivers. This approach should also work on other Raspberry Pi single-board computers.
Configure and load the HD44780 kernel module at boot
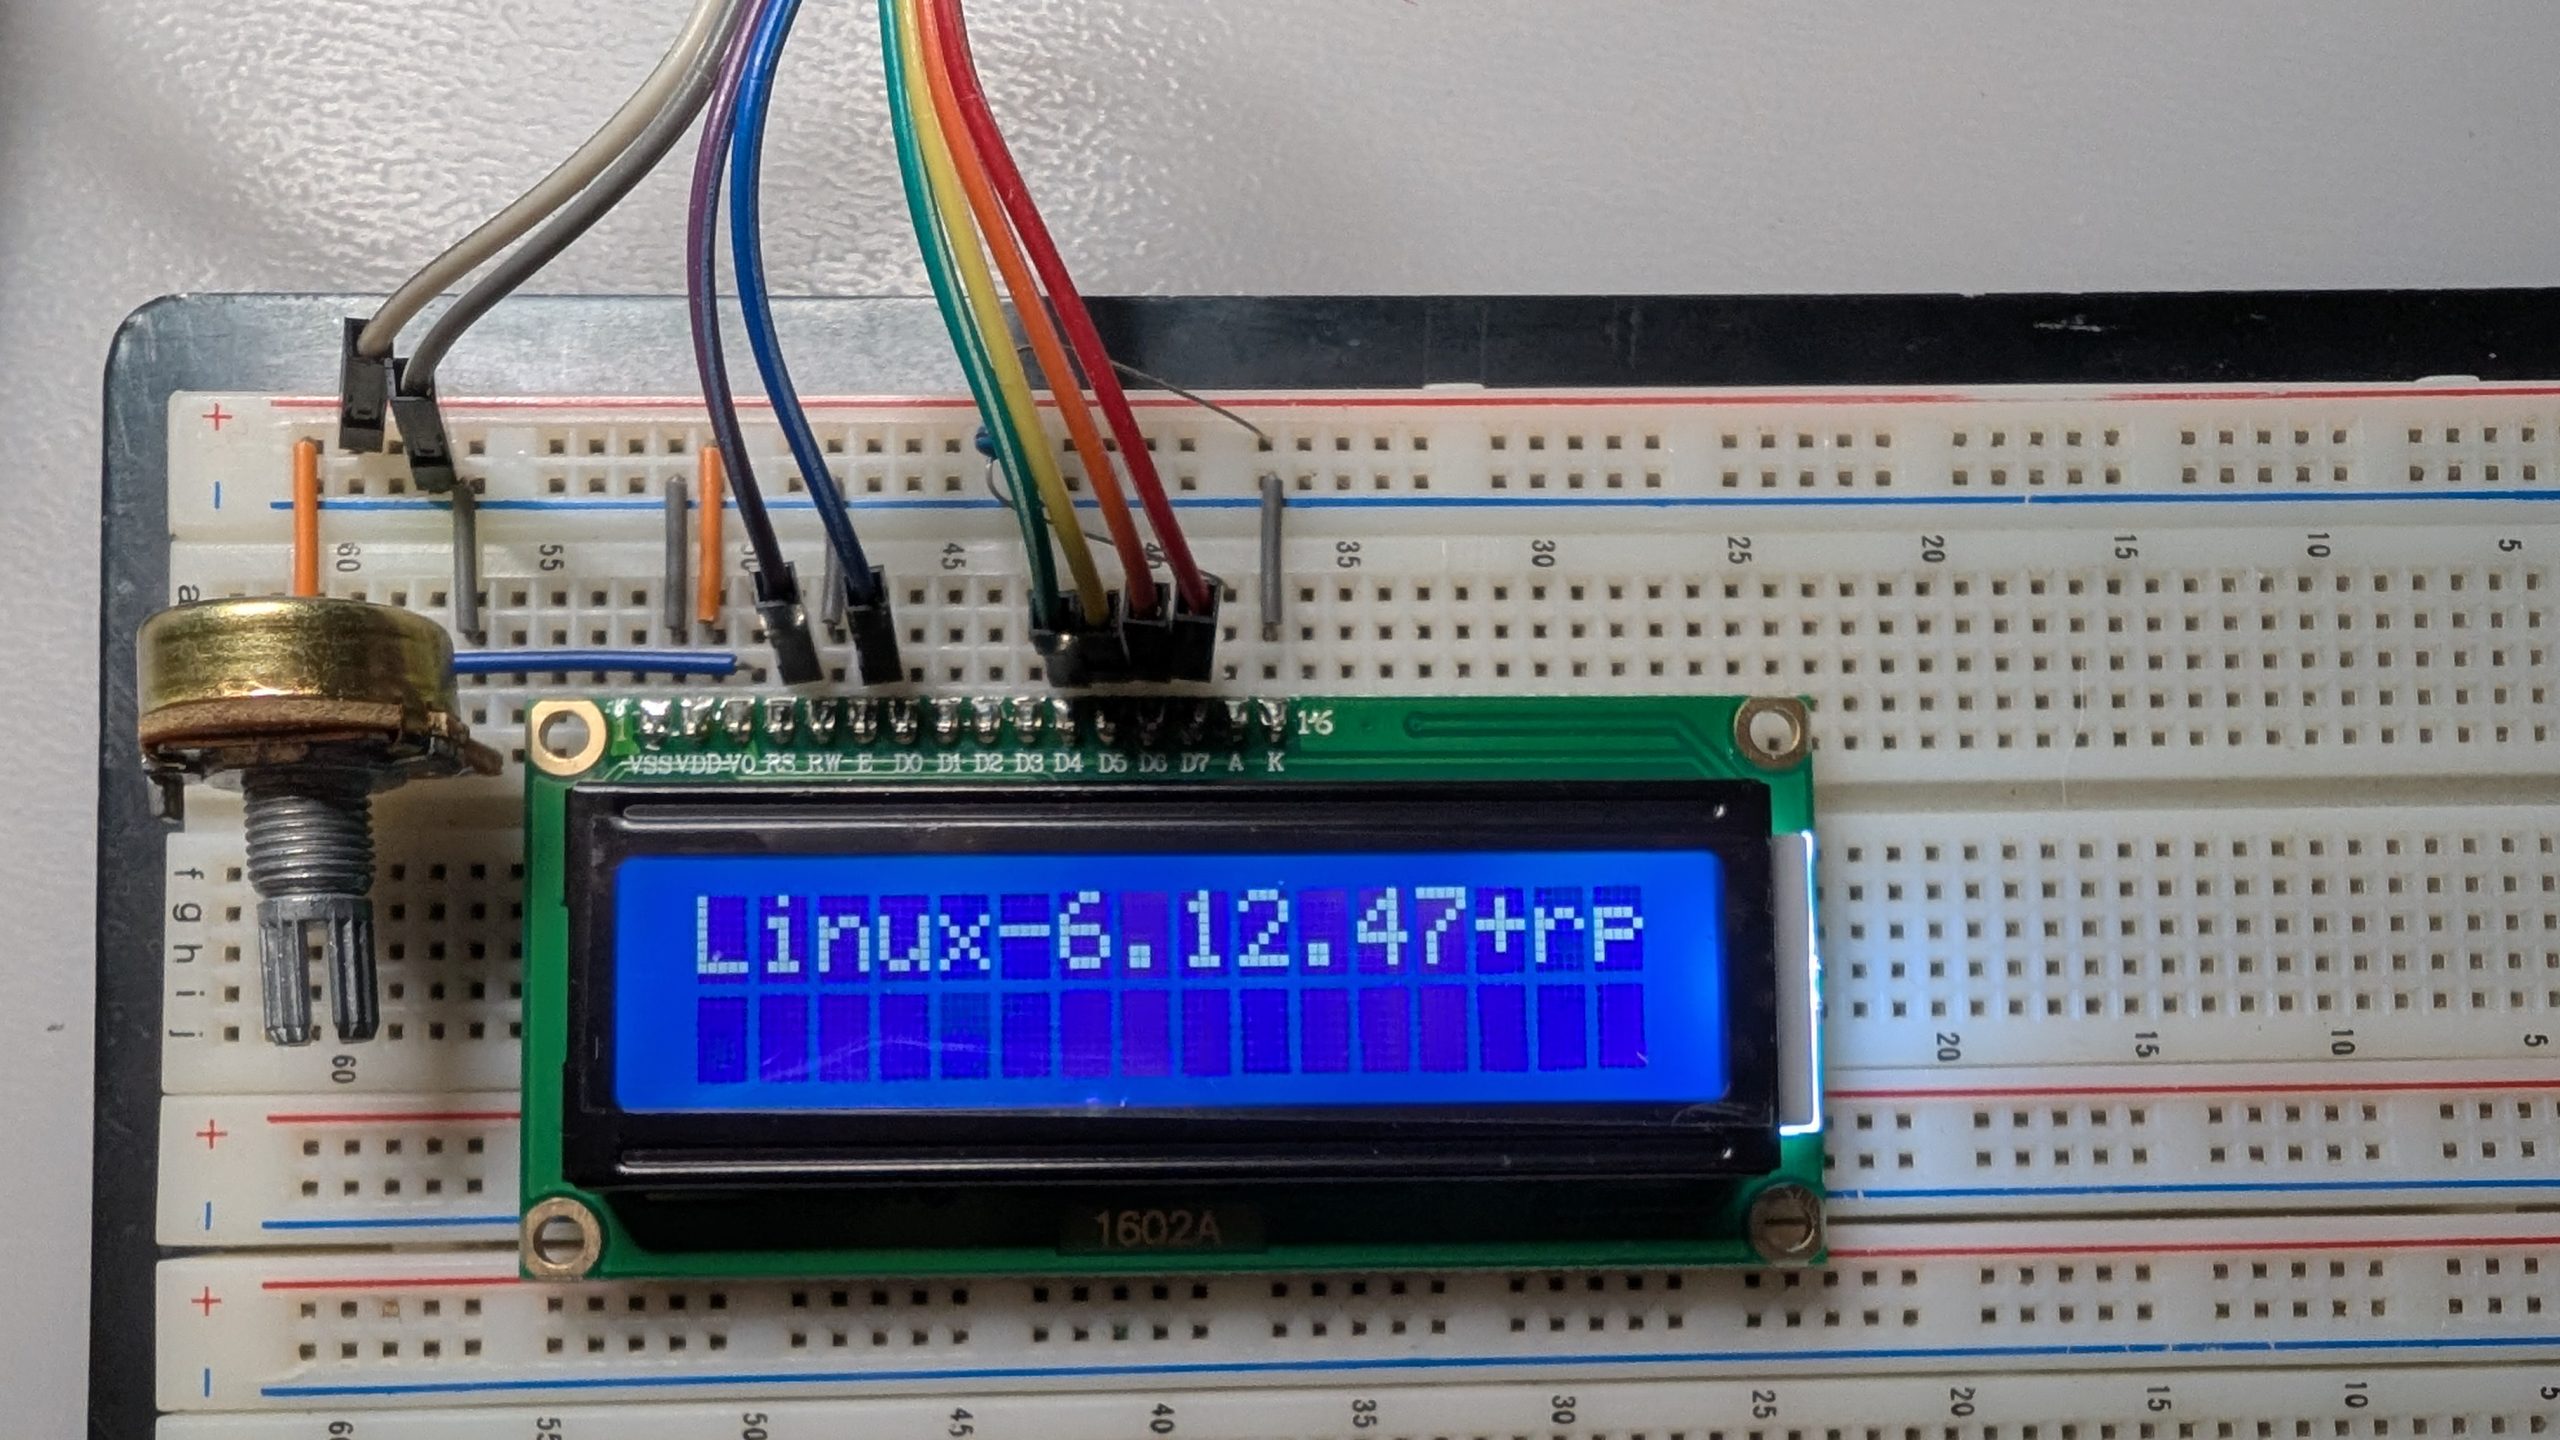
First, you’ll need to load the correct HD44780 Linux kernel module. This will only work with new-ish kernels (I believe the HD44780 Linux kernel module was first made available with the 4.14 Kernel version; so it should be available on most modern setups). I can verify that it’s available on the latest RasbianOS Trixie running kernel 6.12.47+rpt-rpi-v8. To confirm that the HD44780 Linux kernel module is available for you, type in the bash terminal:
# Check if the module exists
modprobe -c | grep hd44780
# or
ls /lib/modules/$(uname -r)/kernel/drivers/auxdisplay/
Then look for hd44780.ko or charlcd.ko.
The next step is to create a Device Tree overlay file that configures and enables the HD44780 kernel module at boot. Luckily, the binary device tree overlay file already exists and can be located in the /boot/firmware/overlay/ directory. To confirm that the binary device tree overlay file exists, check the relevant directory:
ls /boot/firmware/overlays/hd44780-lcd.dtbo
Now open the /boot/firmware/config.txt file in nano and edit the last line so that the HD44780 kernel driver is configured and loaded on boot. To open the file:
sudo nano /boot/firmware/config.txt
At the end of the config.txt file, type the following command:
dtoverlay=hd44780-lcd,pin_rs=17,pin_en=27,pin_d4=22,pin_d5=23,pin_d6=24,pin_d7=25,display_height=2,display_width=16
Then save the file and reboot. Note that the line above, in the config.txt file, loads the hd44780 kernel driver. It takes several parameters that indicate to the driver the size of the LCD (I’ll be using a 16×2 display ) and the Raspberry Pi GPIO pins used to interface with the character LCD.
Wiring the HD44780 LCD to the Raspberry Pi Zero 2W
The GPIO Pin connections are provided in the table below:
| LCD Pin | Function | RPi GPIO | Physical Pin |
| 1 (VSS) | Ground | GND | Pin 6 |
| 2 (VDD) | +5V Power | 5V | Pin 2 or Pin 4 |
| 3 (V0) | Contrast / Potentiometer wiper | – | – |
| 4 (RS) | Register Select | GPIO 17 | Pin 11 |
| 5 (RW) | Read/Write | GND | Pin 6 |
| 6 (E) | Enable | GPIO 27 | Pin 13 |
| 7-10 (D0-D3) | Data 0-3 | Not connected | – |
| 11 (D4) | Data 4 | GPIO 22 | Pin 15 |
| 12 (D5) | Data 5 | GPIO 23 | Pin 16 |
| 13 (D6) | Data 6 | GPIO 24 | Pin 18 |
| 14 (D7) | Data 7 | GPIO 25 | Pin 22 |
| 15 (A) | Backlight + | 5V (Via 220Ω resistor) | Pin 2 or Pin 4 |
| 16 (K) | Backlight – | GND | Pin 6 |
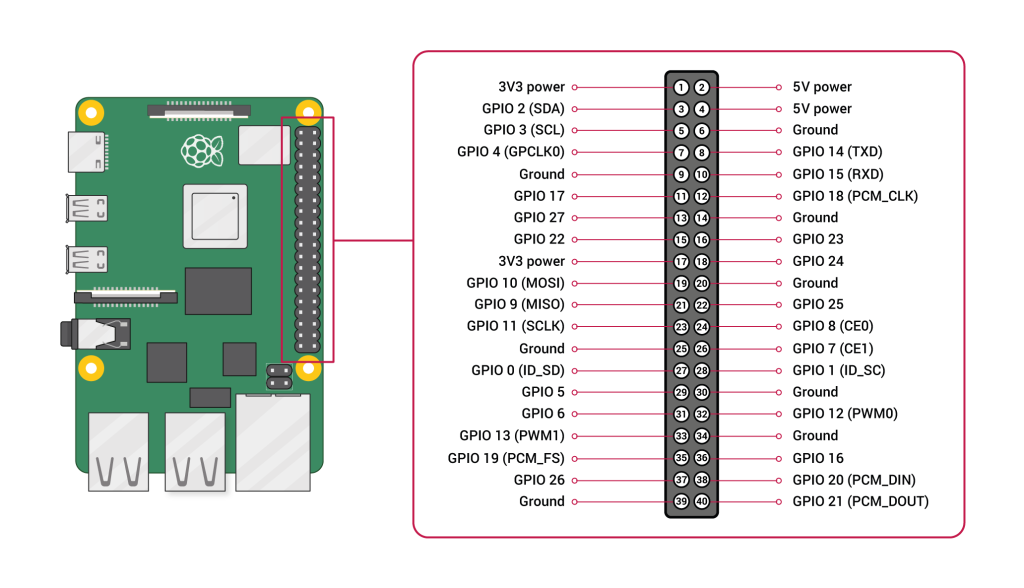
A diagram of the Raspberry Pi GPIO header pinout is provided below for reference
The HD44780 has a contrast control mechanism that requires a potentiometer. A 10KΩ potentiometer is used here. The two fixed ends of the potentiometer are connected to the same +5V and GND rails as the LCD. The potentiometer wiper is then connected to the V0 pin on the LCD.
The HD44780 LCD can be interfaced in either an 8-bit data bus mode; requiring 8 GPIO pins, or a 4-bit data bus mode; requiring 4 GPIO pins. The HD44780 kernel module uses the 4-bit data bus mode, minimizing the number of GPIO pins needed to interface to the LCD. This is why data pins 0-3 on the LCD are left unconnected.
Keep in mind that although the HD44780 LCD is a +5V device, it will correctly interpret the +3.3V signals from the Raspberry Pi Zero 2W. This works because the +3.3V GPIO pins are the ones sending data to the LCD, and not receiving it. If the LCD were to send data back to the RPi GPIO pins with +5V levels, it could damage the RPi GPIO pins, since the Raspberry Pi’s 3.3V pins are not 5V tolerant.
Controlling the HD44780 LCD from the Bash terminal
If the HD44780 kernel driver was loaded and the LCD connected to the Raspberry Pi 2W was connected correctly, you should be able to display data on the LCD by simply writing it to the /dev/lcd character device file. First, make sure that the character device file exists:
ls -l /dev/lcd
Then set the permissions on this character device file so that it can be accessed without sudo
sudo chmod 666 /dev/lcd
Permissions can also be set via udev. First, create and edit a udev rules file:
sudo nano /etc/udev/rules.d/99-lcd.rules
Then add to it:
KERNEL=="lcd", MODE="0666"
Then save and close & reload:
sudo udevadm control --reload-rules
sudo udevadm trigger
At this point, the character device file can be accessed without sudo. Below, you’ll find a few Bash commands that can be used to write to the LCD
# Simple text
echo "Hello World" > /dev/lcd

# With sudo if needed
echo "Hello World" | sudo tee /dev/lcd

# Multiple lines (assumes 2-line display)
echo -e "Line 1\nLine 2" > /dev/lcd

# Clear display
echo -en "\x0c" > /dev/lcd

# Carriage return (move to start of current line)
echo -en "\r" > /dev/lcd

# Newline (move to second line)
echo -en "\n" > /dev/lcd

# Backspace
echo -en "\x08" > /dev/lcd

# Form feed (clear and home)
echo -en "\f" > /dev/lcd

# Move cursor home (top-left)
echo -en "\x01" > /dev/lcd

# Clear and write
echo -en "\x0c" > /dev/lcd
echo "New Text" > /dev/lcd

# Write two lines
echo -en "\x0cLine 1\nLine 2" > /dev/lcd

# Update second line only
echo -en "\nSecond Line" > /dev/lcd

# Overwrite first line
echo -en "\rNew First Line" > /dev/lcd
Now you can use this knowledge to write a simple Bash script that prints data out to the LCD:
#!/bin/bash
# lcd_control.sh

LCD="/dev/lcd"

# Function to clear display
lcd_clear() {
    echo -en "\x0c" > $LCD
}

# Function to write line 1
lcd_line1() {
    echo -en "\x0c$1" > $LCD
}

# Function to write line 2
lcd_line2() {
    echo -en "\n$1" > $LCD
}

# Function to write both lines
lcd_write() {
    echo -en "\x0c$1\n$2" > $LCD
}

# Function to update display with padding (16 chars per line)
lcd_padded() {
    local line1=$(printf "%-16s" "$1")
    local line2=$(printf "%-16s" "$2")
    echo -en "\x0c${line1}\n${line2}" > $LCD
}

# Usage examples:
lcd_clear
sleep 1

lcd_line1 "Hello World"
sleep 2

lcd_write "Temperature:" "25.5C"
sleep 2

lcd_padded "CPU" "45%"
Make it executable first, then run it:
chmod +x lcd_control.sh
./lcd_control.sh
The HD44780 character LCD can be used to display diagnostic information about the Raspberry Pi, such as the Domain name, IP address, current time, and CPU utilization. The script below does all that. It continuously runs. Every 4 seconds, it alternates between displaying the domain name + IP address, and the current time + CPU utilization:
#!/bin/bash
# system_network_monitor.sh

LCD="/dev/lcd"

# Function to clear display
lcd_clear() {
    echo -en "\x0c" > $LCD
}

while true; do
    # Get CPU temperature
    TEMP=$(vcgencmd measure_temp | cut -d= -f2)

    # Get CPU usage
    CPU=$(top -bn1 | grep "Cpu(s)" | awk '{print $2}' | cut -d% -f1)

    # Get time
    TIME=$(date +"%H:%M:%S")

    # Display
    LINE1=$(printf "%-16s" "Time: $TIME")
    LINE2=$(printf "%-16s" "CPU:${CPU}% ${TEMP}")

    echo -en "\x0c${LINE1}\n${LINE2}" > $LCD

    sleep 4

    # Get IP address
    IP=$(hostname -I | awk '{print $1}')

    # Get hostname
    HOST=$(hostname)

    # Display
    echo -en "\x0c$(printf '%-16s' "$HOST")\n$(printf '%-16s' "$IP")" > $LCD

    sleep 4
done
Controlling the HD44780 LCD from Python
The HD44780 can also be controlled from Python. Since displaying data on the LCD requires opening and writing to the /dev/lcd character device file, all we have to do to write to the LCD in Python is:
with open("/dev/lcd", 'w') as lcd:
    lcd.write("hello world")
A more elaborate Python class for controlling the HD44780 LCD is provided below. It can perform scrolling and other more advanced functions
# hd44780.py

import time
import os

class HD44780:
    """
    HD44780 LCD control via kernel driver
    """

    # Control characters
    CLEAR = b'\x0c'
    HOME = b'\x01'
    NEWLINE = b'\n'
    CARRIAGE_RETURN = b'\r'
    BACKSPACE = b'\x08'

    def __init__(self, device='/dev/lcd', width=16, height=2):
        self.device = device
        self.width = width
        self.height = height

        # Check if device exists
        if not os.path.exists(device):
            raise FileNotFoundError(f"LCD device {device} not found")

    def _write_raw(self, data):
        """Write raw bytes to LCD"""
        try:
            with open(self.device, 'wb') as lcd:
                lcd.write(data)
        except PermissionError:
            raise PermissionError(f"Permission denied. Try: sudo chmod 666 {self.device}")

    def _write_text(self, text):
        """Write text string to LCD"""
        with open(self.device, 'w') as lcd:
            lcd.write(text)

    def clear(self):
        """Clear the entire display"""
        self._write_raw(self.CLEAR)
        time.sleep(0.002)  # HD44780 needs ~2ms to clear

    def home(self):
        """Move cursor to home position (0,0)"""
        self._write_raw(self.HOME)
        time.sleep(0.002)

    def write(self, text, line=None):
        """
        Write text to LCD

        Args:
            text: Text to display
            line: Line number (1 or 2), None for current position
        """
        if line == 1:
            self.clear()
            self._write_text(text)
        elif line == 2:
            self._write_raw(self.NEWLINE)
            self._write_text(text)
        else:
            self._write_text(text)

    def write_line(self, text, line, pad=True):
        """
        Write to specific line with optional padding

        Args:
            text: Text to display
            line: Line number (1 or 2)
            pad: Pad with spaces to fill line
        """
        if pad:
            text = text.ljust(self.width)[:self.width]

        if line == 1:
            self.clear()
            self._write_text(text)
        elif line == 2:
            self._write_raw(self.NEWLINE)
            self._write_text(text)

    def write_lines(self, line1='', line2='', pad=True):
        """
        Write both lines at once

        Args:
            line1: Text for first line
            line2: Text for second line
            pad: Pad lines with spaces
        """
        if pad:
            line1 = line1.ljust(self.width)[:self.width]
            line2 = line2.ljust(self.width)[:self.width]

        self.clear()
        self._write_text(f"{line1}\n{line2}")

    def center(self, text, line=None):
        """Center text on line"""
        centered = text.center(self.width)[:self.width]
        if line:
            self.write_line(centered, line, pad=False)
        else:
            self._write_text(centered)

    def scroll_text(self, text, line=1, delay=0.3):
        """Scroll text horizontally"""
        if len(text) <= self.width:
            self.write_line(text, line)
            return

        # Add spaces for smooth scrolling
        text = text + "   "

        for i in range(len(text) - self.width + 1):
            self.write_line(text[i:i+self.width], line)
            time.sleep(delay)

    def backspace(self, count=1):
        """Backspace n characters"""
        for _ in range(count):
            self._write_raw(self.BACKSPACE)

    def cursor_to_line2(self):
        """Move cursor to start of line 2"""
        self._write_raw(self.NEWLINE)
And here’s a demo Python script that uses this class:
#!/usr/bin/env python3
#lcd_demo.py

from hd44780 import HD44780
import time

lcd = HD44780()

# Test 1: Basic write
lcd.clear()
lcd.write_lines("Test 1", "Basic Write")
time.sleep(2)

# Test 2: Centered text
lcd.clear()
lcd.center("Centered", line=1)
lcd.center("Text", line=2)
time.sleep(2)

# Test 3: Scrolling text
lcd.clear()
lcd.write_line("Scrolling:", line=1)
lcd.scroll_text("This is a long message that scrolls", line=2, delay=0.2)
time.sleep(1)

# Test 4: Update lines independently
lcd.write_line("Line 1 Static", line=1)
for i in range(10):
    lcd.write_line(f"Count: {i}", line=2)
    time.sleep(0.5)

lcd.clear()
Finally, here’s a system monitor Python script that uses the same HD44780 Python class shown earlier:
#!/usr/bin/env python3
# system_monitor.py
import time
import subprocess
import os
from lcd_advanced import HD44780
def get_cpu_temp():
"""Get CPU temperature"""
try:
temp = subprocess.check_output(['vcgencmd', 'measure_temp']).decode()
return temp.replace('temp=', '').strip()
except:
return "N/A"
def get_cpu_usage():
"""Get CPU usage percentage"""
try:
output = subprocess.check_output(['top', '-bn1']).decode()
for line in output.split('\n'):
if 'Cpu(s)' in line:
idle = float(line.split()[7].replace('%id,', ''))
return f"{100 - idle:.1f}%"
return "N/A"
except:
return "N/A"
def get_memory_usage():
"""Get memory usage"""
try:
output = subprocess.check_output(['free', '-m']).decode()
lines = output.split('\n')
mem_line = lines[1].split()
total = int(mem_line[1])
used = int(mem_line[2])
percent = (used / total) * 100
return f"{percent:.0f}%"
except:
return "N/A"
def get_ip_address():
"""Get IP address"""
try:
ip = subprocess.check_output(['hostname', '-I']).decode().split()[0]
return ip
except:
return "No IP"
def get_uptime():
"""Get system uptime"""
try:
uptime = subprocess.check_output(['uptime', '-p']).decode().strip()
return uptime.replace('up ', '')
except:
return "N/A"
def main():
lcd = HD44780()
screens = [
('time', lambda: (time.strftime("%H:%M:%S"), time.strftime("%d/%m/%Y"))),
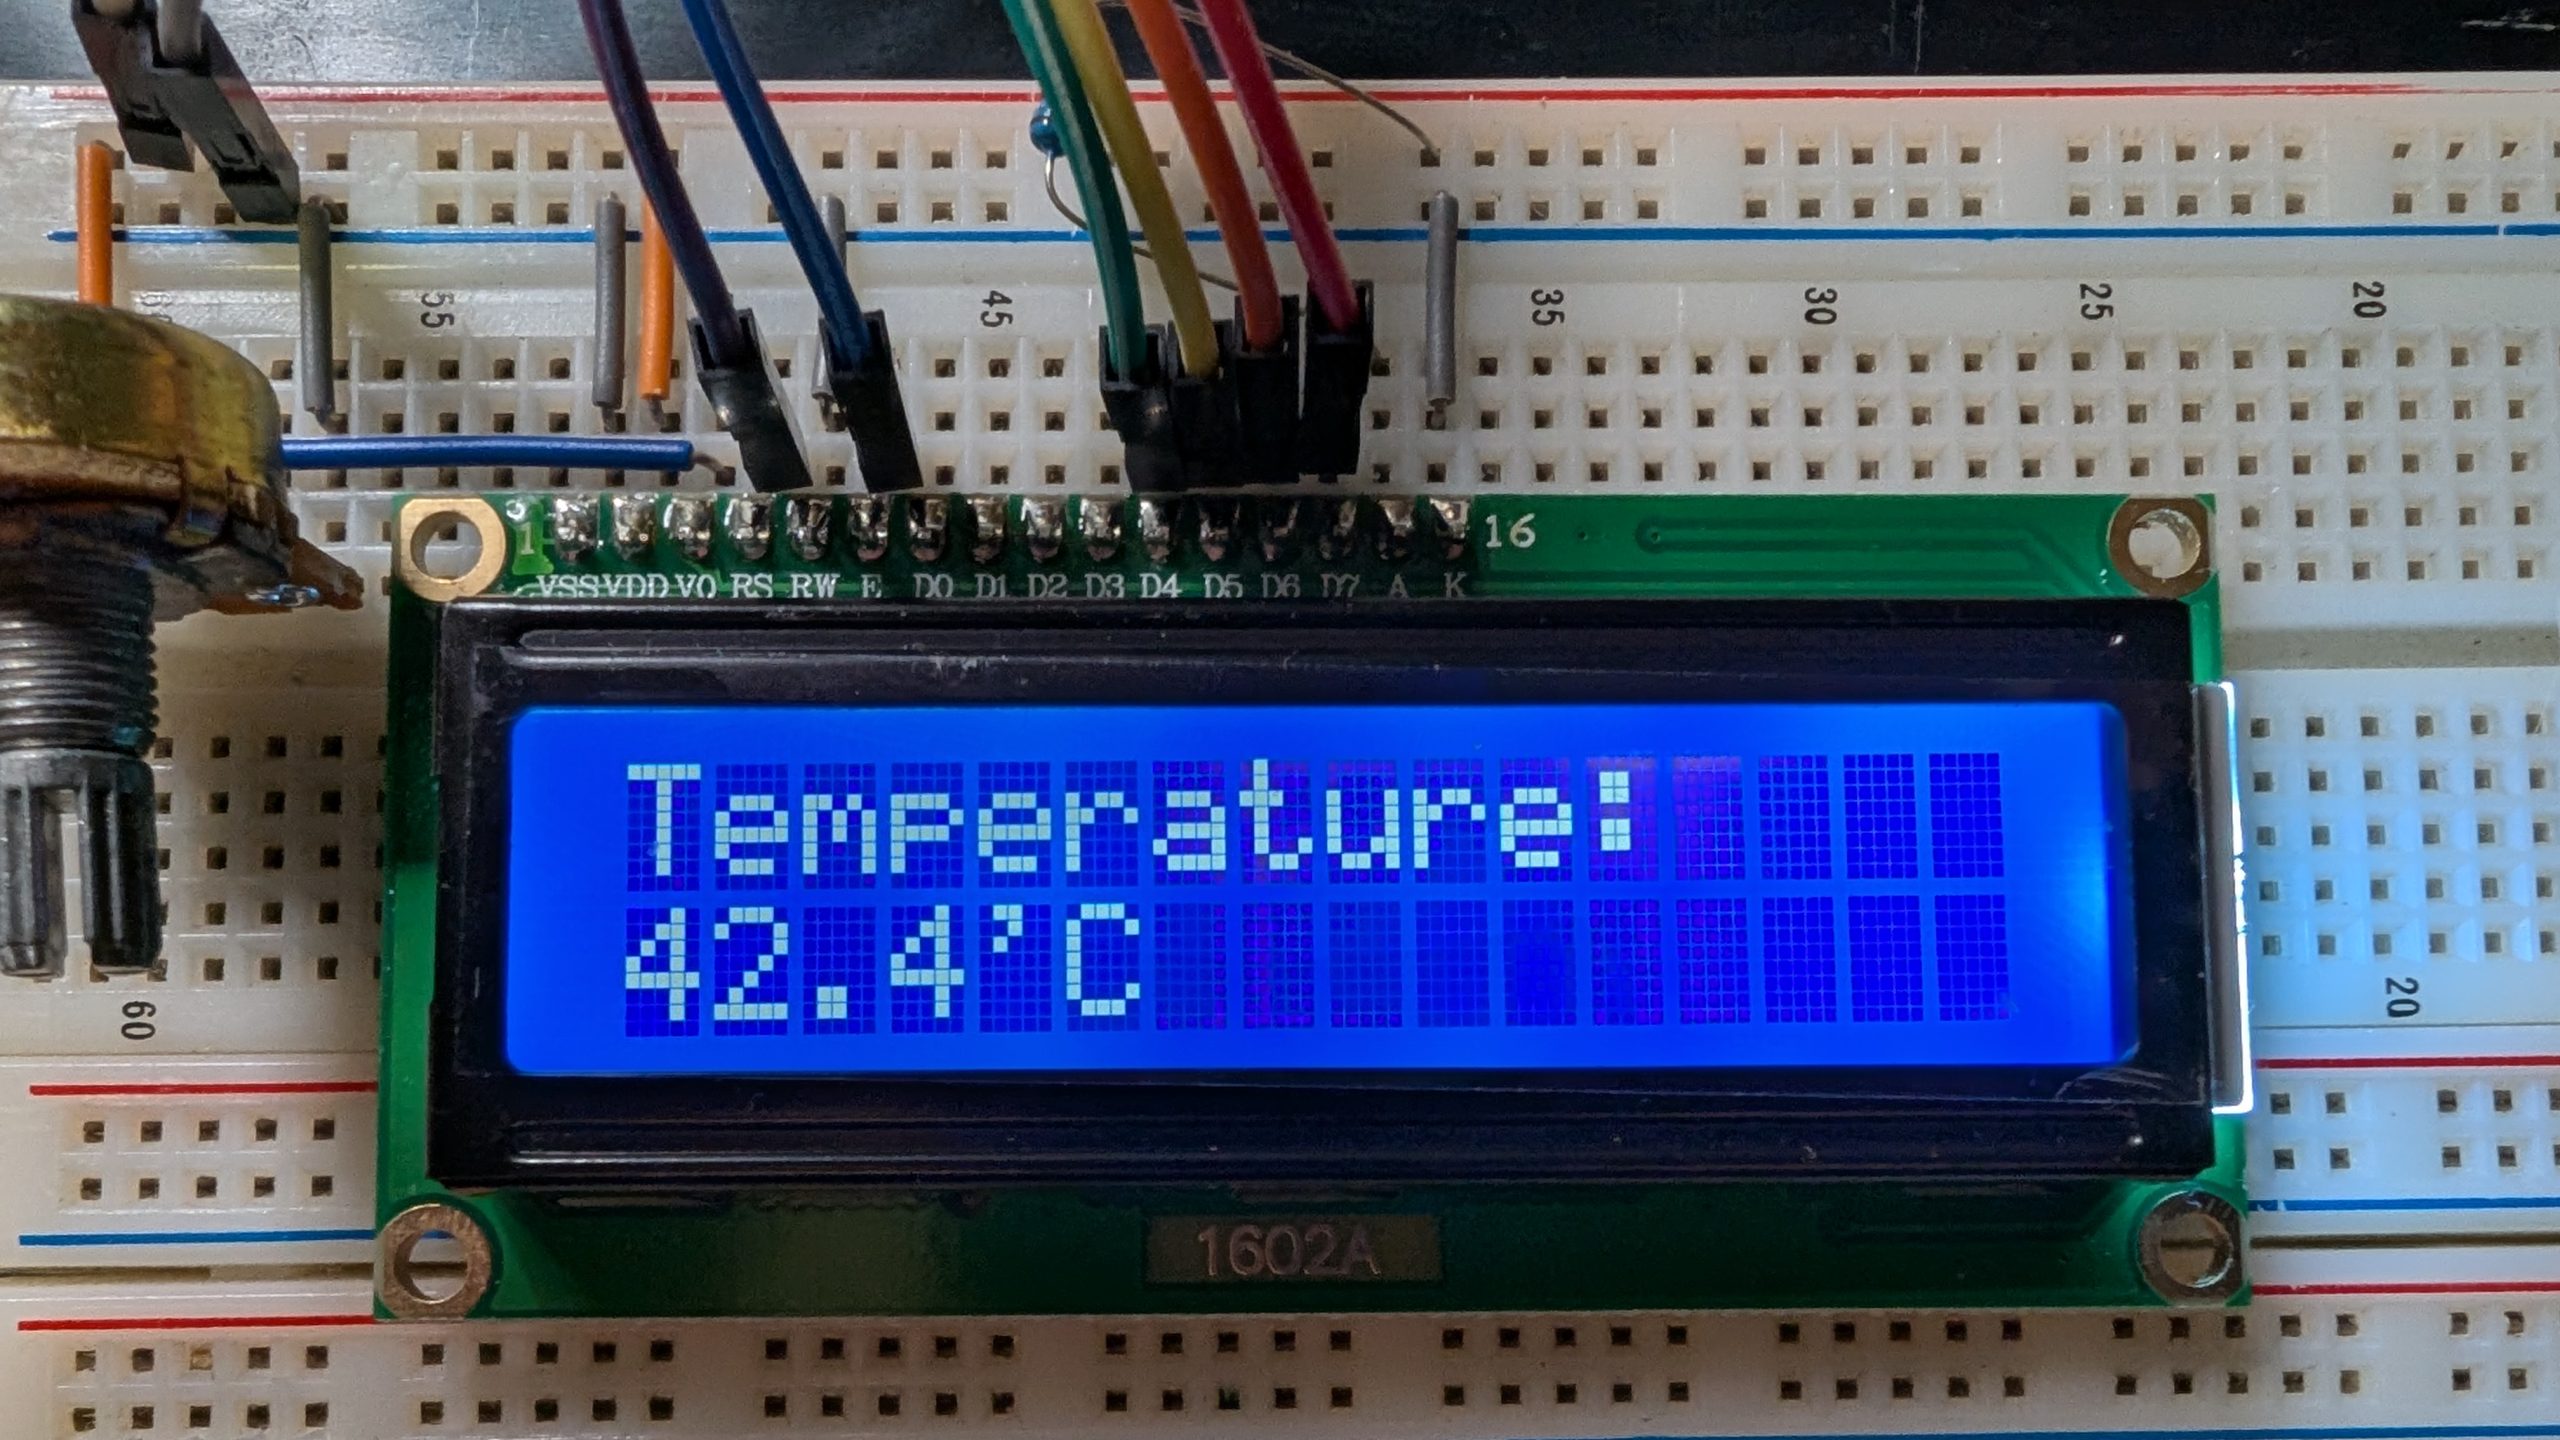
('temp', lambda: ("Temperature:", get_cpu_temp())),
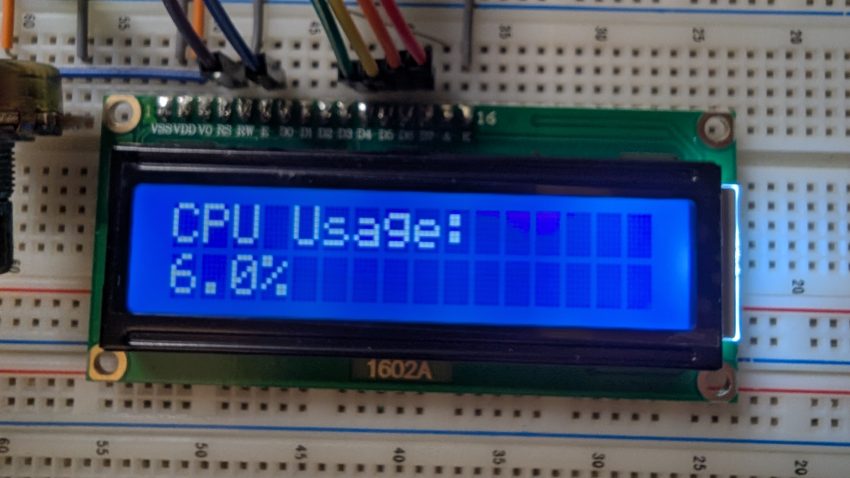
('cpu', lambda: ("CPU Usage:", get_cpu_usage())),
('mem', lambda: ("Memory:", get_memory_usage())),
('ip', lambda: ("IP Address:", get_ip_address())),
('uptime', lambda: ("Uptime:", get_uptime())),
]
screen_idx = 0
counter = 0
try:
while True:
# Get current screen data
screen_name, screen_func = screens[screen_idx]
line1, line2 = screen_func()
# Display
lcd.write_lines(line1, line2)
# Rotate screens every 3 seconds
time.sleep(1)
counter += 1
if counter >= 3:
counter = 0
screen_idx = (screen_idx + 1) % len(screens)
except KeyboardInterrupt:
lcd.clear()
lcd.write_lines("Goodbye!", "")
time.sleep(1)
lcd.clear()
if __name__ == "__main__":
main()
And that’s it! Now you too can control the HD44780 LCD from your Raspberry Pi!